Oh boy! This renovation was a long time coming. Like really, we needed the bathroom redone and not just to look cute but because there was issues with the plumbing. Behind the wall where the shower handle and shower head are, there was a leak! This leak was slow but steady and over the last few years only got worse. There were two leaks to be exact, one up at the top right by the ceiling and the other – right behind where the handle was.
This leak was dripping down and causing water damage and mold! We hated using the bathroom and always had a fan running and/or the window open out of concern for the air quality in there. The entire time, we really didn’t know what the issue was and no contractor knew unless they could look behind the wall. After months of having around 20 contractors come through, several said no thanks.. many said they would send a quote and never did but finally I went on HomeStars and found a local company who was willing to help us. I was lucky to get most of the items sponsored by some amazing brands but definitely needed professionals to take the lead on the demo and reno.
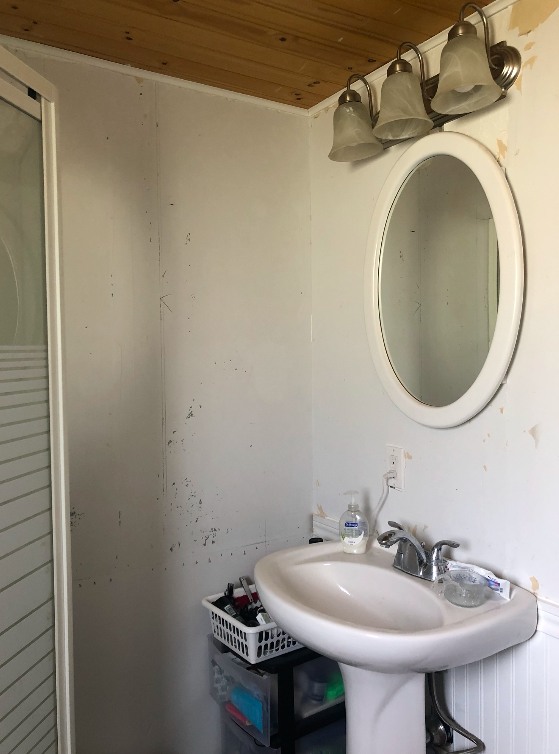
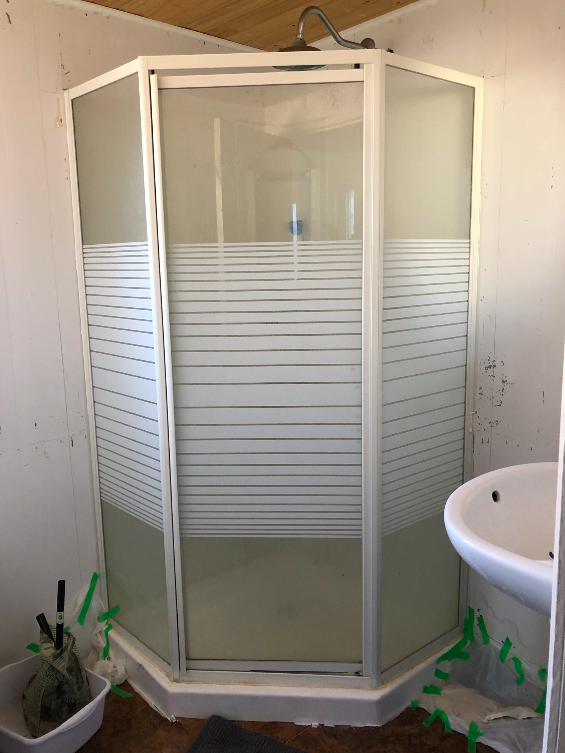
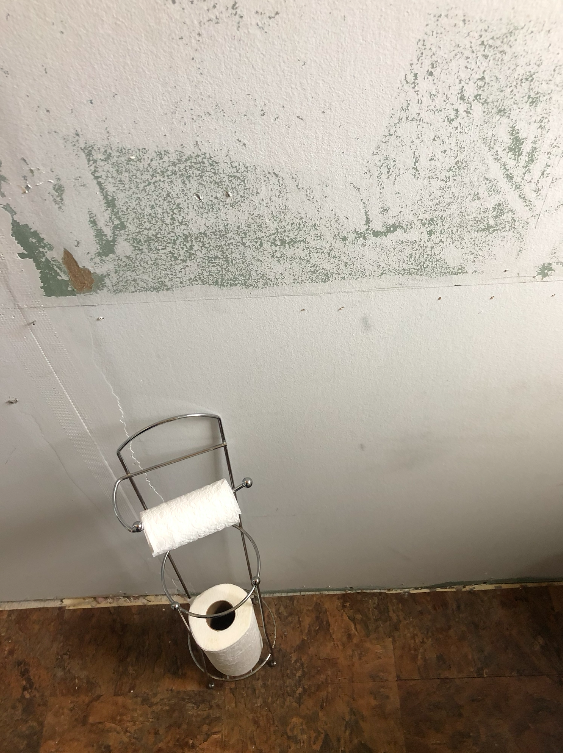
We had a dated light fixture, a shower kit that was not sealed well at all and a vanity/sink that was just too much and very dated. While investigating the level of damage behind the shower, we peeled back the vinyl tile around the shower kit to see if the water was damaged around the base of the shower kit – luckily, it wasn’t! My boyfriend then went hard and starting ripping off the half wallpaper, half old beadboard… here’s after that:
I wanted to keep the renovation costs low without being overly frugal because after all, it is a mobile home/trailer and not our forever home. At the same time, I wanted it to be done right so that we could be comfortable living here and confident in the work; should we one day decide to sell or rent the place.
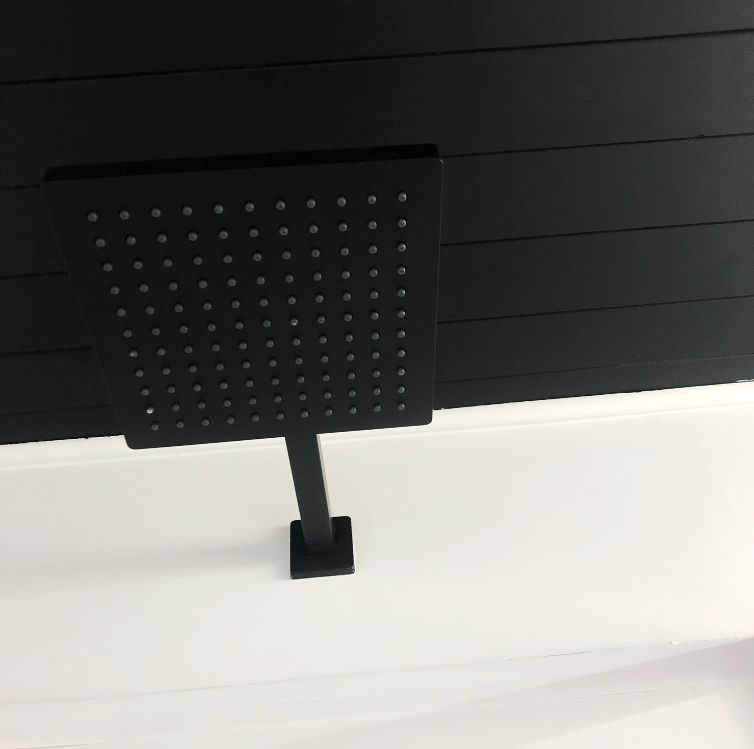
The first thing to do was rip out the floors and tear down the walls around the shower kit to assess the damage. Once the floors were done and the new vinyl tile was in – they were able to work on the walls that surround the shower kit. We decided to put another shower kit in, given the size of the bathroom (it’s small!) and because we wanted the bathroom done quickly. It’s the only bathroom we have so I was really thankful my gym’s shower was open!
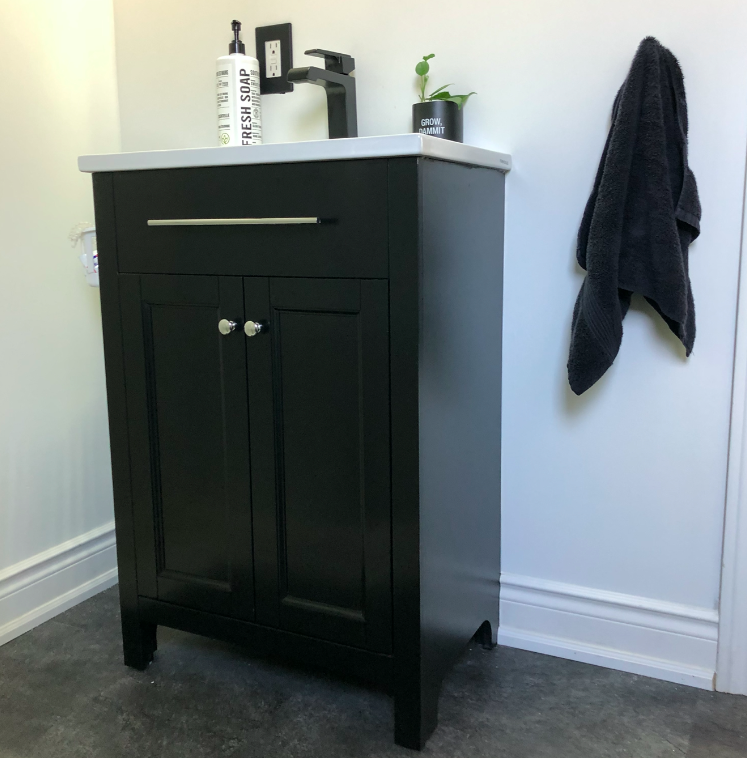
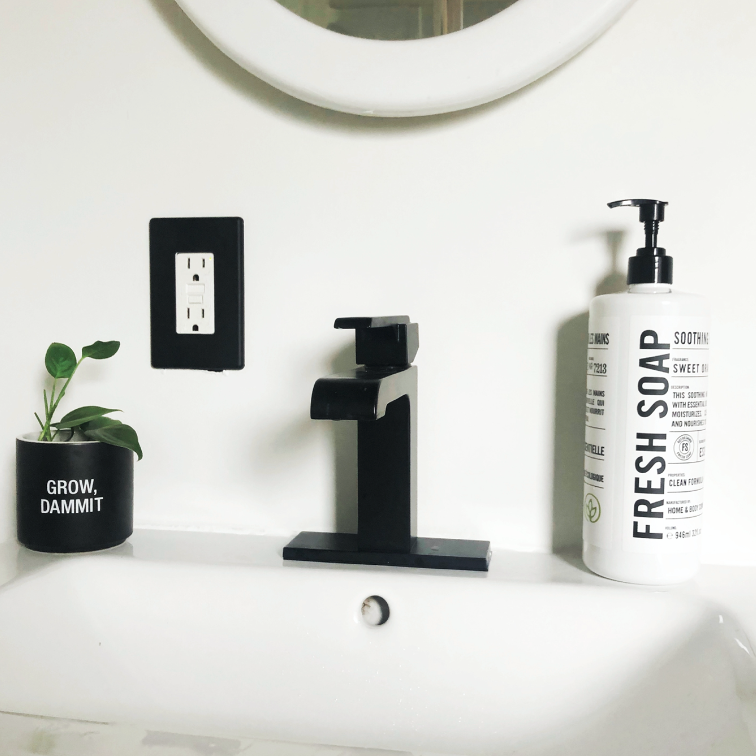
The shower kit took a few days because they had to seal it with caulking so they were able to patch up the walls and get it ready for us to paint. They were also able to work on setting up the new vanity from Foremost Canada and a new matte black faucet from Delta Canada! I love how this faucet includes the matching finish drain assembly and the water-efficient faucet helps to conserve water!
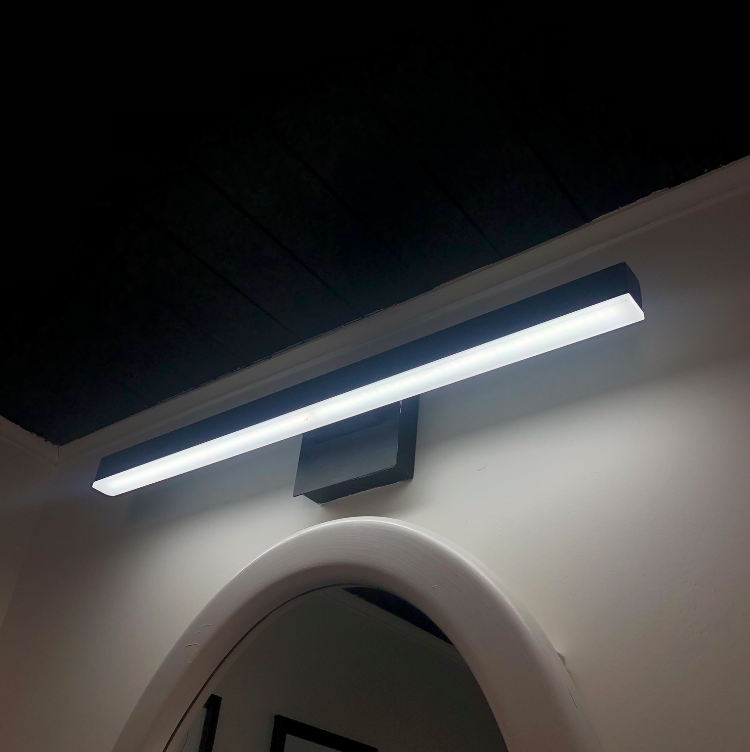
Once that was all set up, the next thing they did was replace the light fixture – that made a huge difference in the space! The new one is sleek and modern and has a white light rather than the super warm yellow light.
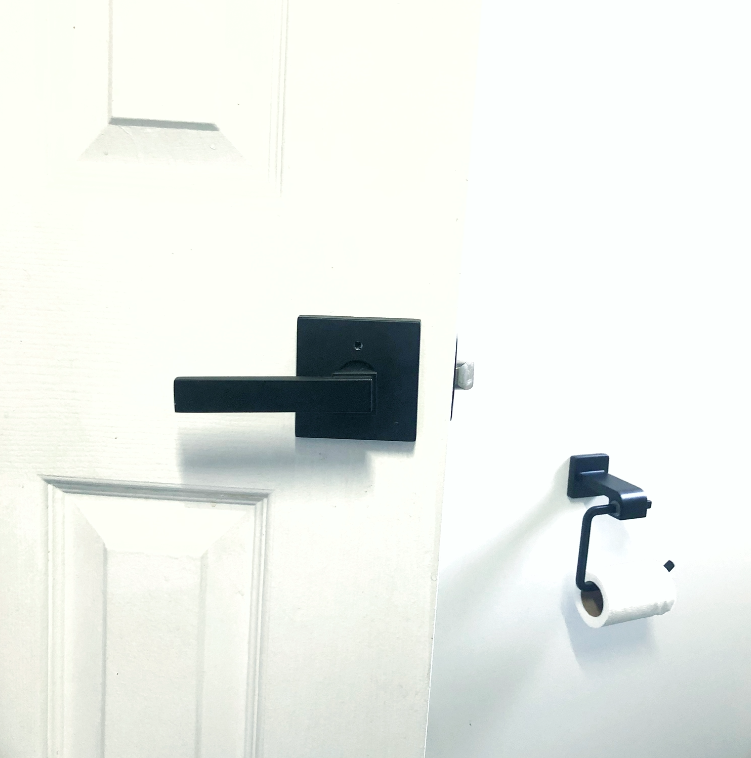
There were some fine touches to be made which helped elevate the space as a whole and tie it into the rest of the place. We repainted the door white, added a new matte black door handle from Schlage Canada and added a matte black toilet paper holder from Delta Canada and a little matte black towel hook for drying your hands.
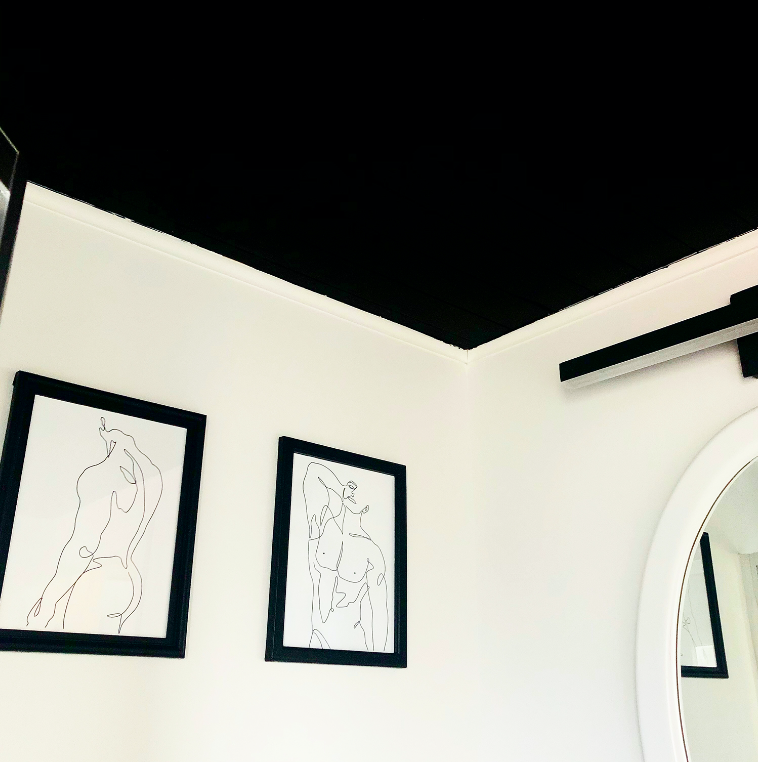
The final step was painting! We were lucky enough to partner with Digby Paints to ensure the space came full circle. We painted the walls white but used a black paint from Digby Paints on the ceiling for an elevated look! Honestly, so many people were a little shocked that I wanted to paint the ceiling black because it’s such a small space but it honestly looks so good and I’m happy we went with that. We loved Digby Paints so much that I ended up using some of the paint to paint around the closest sliding doors – that turned out so well too!
